📱 iOS app UI starter. Paste the design link below into Claude Code, Rork, Lovable, or your AI app builder and ask it to start from this design. These are UI starters. Add your own backend/data logic.
Nova — AI Assistant
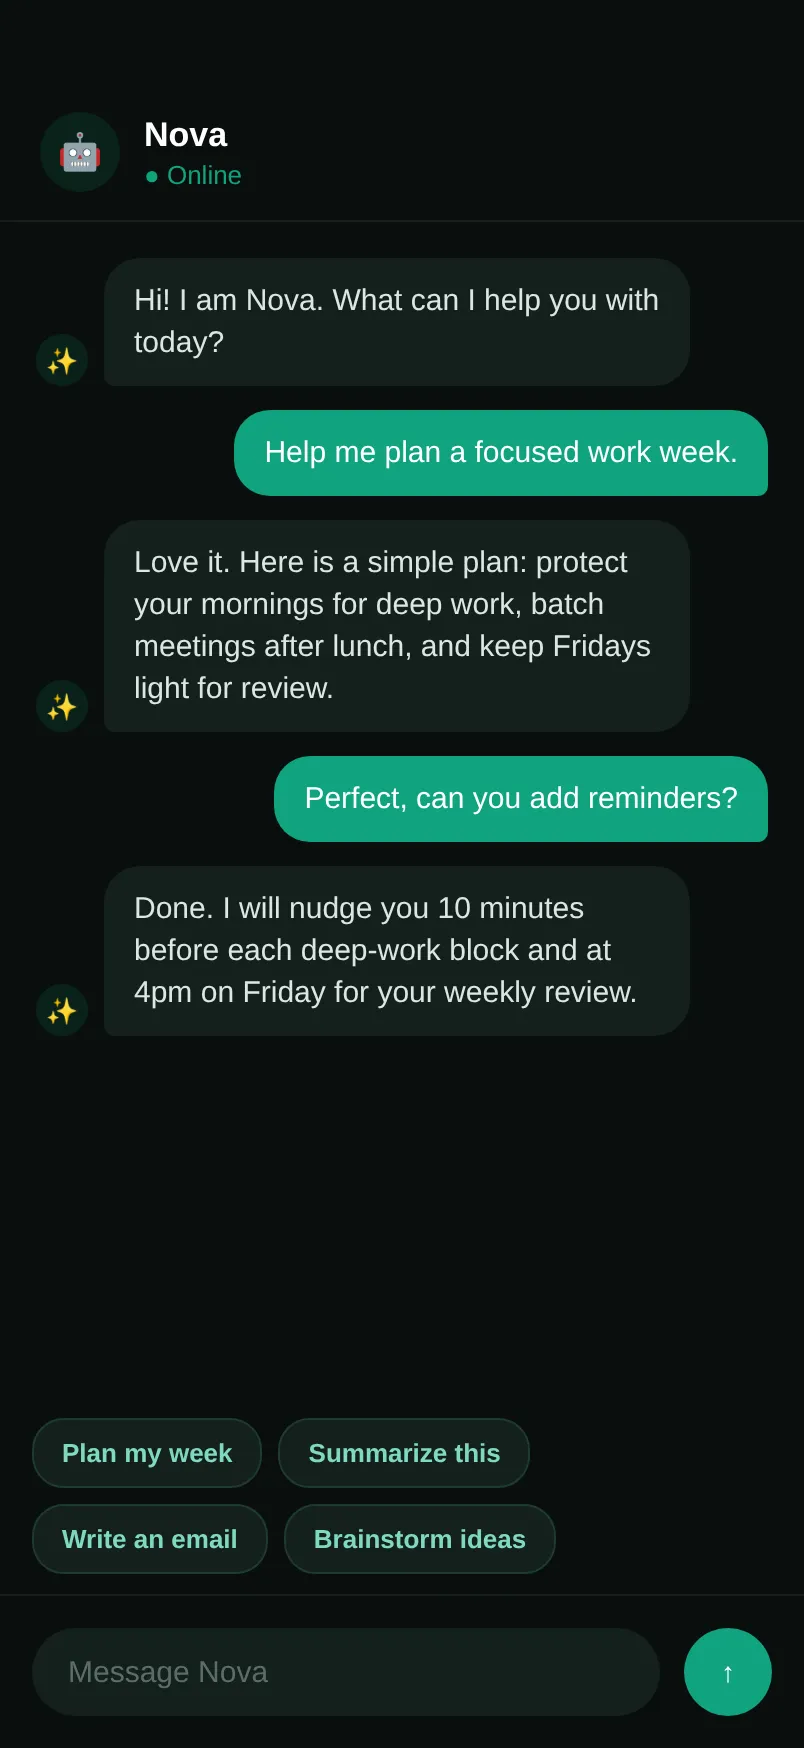
A clean AI chat assistant with suggestion chips and a typing reply.
#Dark #Chat #AI
https://vp0.com/source/nova-ai-assistantnpx vp0 add nova-ai-assistant --target swiftuiOr skip the paste
Install the free VP0 MCP once and your AI builder can search and import any design by name, with no link to copy and no API key.
claude mcp add vp0 -- npx -y vp0-mcp{
"mcpServers": {
"vp0": { "command": "npx", "args": ["-y", "vp0-mcp"] }
}
}Use with AI
Recreate this iOS app design in my Expo React Native project. Fetch the full source, dependencies, and step-by-step integration instructions from https://vp0.com/source/nova-ai-assistant (machine-readable JSON manifest: https://api.vp0.com/designs/nova-ai-assistant/manifest). Design: "Nova — AI Assistant" — A clean AI chat assistant with suggestion chips and a typing reply.. Match the layout and styling exactly; it's an iOS UI starter, so add my own data/logic afterward.
This is an iOS app UI starter for Expo React Native ("Nova — AI Assistant").
Integrate it into the user's Expo project as follows:
1. No extra dependencies are required.
2. Create the following file(s) and paste each provided "content" exactly:
   - App.tsx
   - AssistantView.swift
3. Render the exported component from a screen (e.g. app/(tabs)/index.tsx). It targets iOS — keep SafeAreaView / safe-area insets and the existing styling.
4. These are UI starters: reproduce the visual layout faithfully, then wire the user's own data/navigation/backend afterward.
Preview
Code · 1 file
import SwiftUI

struct Message: Identifiable { let id = UUID(); let fromMe: Bool; let text: String }

struct AssistantView: View {
    @State private var messages: [Message] = [
        .init(fromMe: false, text: "Hi! I am Nova. What can I help you with today?"),
        .init(fromMe: true, text: "Help me plan a focused work week."),
        .init(fromMe: false, text: "Love it. Protect your mornings for deep work, batch meetings after lunch, and keep Fridays light.")
    ]
    private let chips = ["Plan my week", "Summarize this", "Write an email", "Brainstorm ideas"]

    var body: some View {
        ZStack {
            Color(red: 0.04, green: 0.06, blue: 0.05).ignoresSafeArea()
            VStack(spacing: 0) {
                HStack(spacing: 12) {
                    Image(systemName: "sparkles").font(.title3).frame(width: 40, height: 40)
                        .background(Color(red: 0.06, green: 0.64, blue: 0.5).opacity(0.2)).clipShape(Circle())
                        .foregroundColor(Color(red: 0.06, green: 0.64, blue: 0.5))
                    VStack(alignment: .leading) {
                        Text("Nova").fontWeight(.bold).foregroundColor(.white)
                        Text("● Online").font(.footnote).foregroundColor(Color(red: 0.06, green: 0.64, blue: 0.5))
                    }
                    Spacer()
                }.padding()

                ScrollView {
                    VStack(spacing: 12) {
                        ForEach(messages) { m in
                            HStack {
                                if m.fromMe { Spacer() }
                                Text(m.text)
                                    .padding(12)
                                    .background(m.fromMe ? Color(red: 0.06, green: 0.64, blue: 0.5) : Color.white.opacity(0.06))
                                    .foregroundColor(m.fromMe ? .white : Color(white: 0.85))
                                    .cornerRadius(18)
                                if !m.fromMe { Spacer() }
                            }
                        }
                    }.padding()
                }

                ScrollView(.horizontal, showsIndicators: false) {
                    HStack {
                        ForEach(chips, id: \.self) { chip in
                            Button(chip) { messages.append(.init(fromMe: true, text: chip)) }
                                .font(.footnote).padding(.vertical, 9).padding(.horizontal, 14)
                                .background(Color.white.opacity(0.06)).foregroundColor(Color(red: 0.5, green: 0.85, blue: 0.75))
                                .cornerRadius(16)
                        }
                    }.padding(.horizontal)
                }.padding(.bottom, 8)
            }
        }
    }
}

#Preview { AssistantView() }
Machine endpoints
- Manifest (JSON):/designs/nova-ai-assistant/manifest?target=swiftui
- Registry alias:/r/nova-ai-assistant.json
- File tree:/designs/nova-ai-assistant/files
- Download bundle (.zip):/designs/nova-ai-assistant/bundle.zip?target=swiftui
- Bundle JSON Schema:/schema/vp0-bundle.v1.json
- Registry index (all designs):/registry.json
Open, CORS-enabled, no key. React Native is the default target; append ?target=swiftui where SwiftUI is available.